
Open house checklist preparation is the process of organizing tools, questions, and evaluation steps to thoroughly assess potential homes during showings. First-time buyers who walk in without a plan often leave with nothing but vague impressions, which makes comparing homes nearly impossible. A structured checklist keeps you focused on facts instead of feelings. This guide gives you the exact tools, questions, and systems to evaluate any home with confidence.
What essential tools and documents should you bring to an open house?
Pre-open house preparation starts before you leave home. Confirming your lender pre-approval, researching the neighborhood, and building a must-have and deal-breaker list focuses your time at the showing. Buyers who skip this step spend the visit reacting emotionally instead of evaluating objectively.
Physical tools to pack
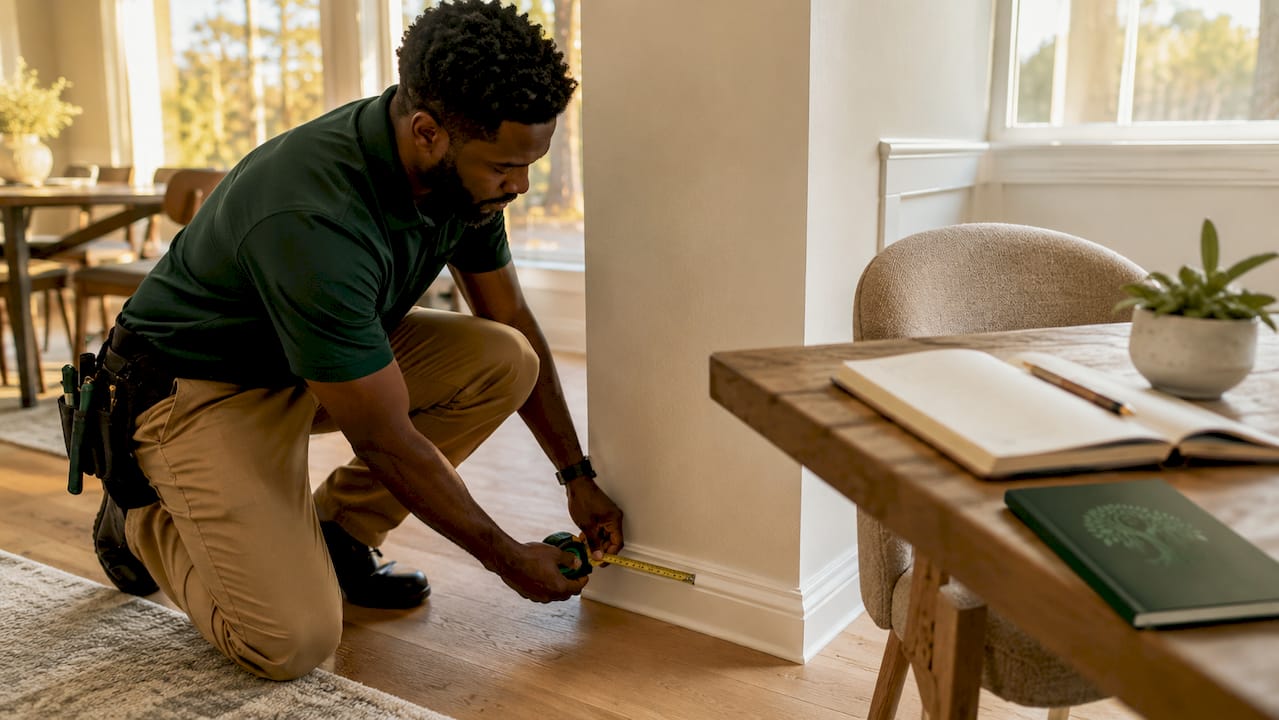
- Tape measure. Room dimensions on listing photos are often misleading. Bring a tape measure to verify whether your furniture fits and whether the layout actually works for your life.
- Flashlight. Basements, attics, closets, and cabinet interiors are poorly lit. A flashlight reveals water stains, pest damage, and structural issues that overhead lighting hides.
- Notepad or phone app. You will visit multiple homes. Without written notes, details blur together within 48 hours.
- Fully charged phone. You need it for photos, videos, and quick neighborhood research on the spot.
- Printed checklist. A pre-printed room-by-room checklist keeps you systematic when staging and decor pull your attention away from the structure.
Documents to bring
- Your lender pre-approval letter. Agents notice prepared buyers.
- A written list of your must-haves and deal-breakers.
- Neighborhood research: school ratings, commute times, recent sale prices.
- A list of questions prepared in advance (covered in detail below).
Pro Tip: Silence your phone before entering. Distractions during a 30-minute showing cost you observations you cannot recover later.
How to effectively evaluate a home’s condition and systems during an open house?
A home showing is not a formal inspection. You cannot open electrical panels or probe behind walls. Home inspectors only assess accessible components for safety and legal reasons, and the same boundary applies to you as a buyer. Your job is to observe visible clues and ask targeted questions, then let a licensed inspector confirm your findings after you go under contract.
Here is a room-by-room evaluation sequence that works:
-
Start outside. Check the roof for missing shingles, sagging ridgelines, or moss. Look at the foundation for cracks wider than a hairline. Observe yard grading: does the ground slope toward or away from the house? Water that drains toward the foundation causes expensive damage.
-
Enter and pause at the front door. Notice odors immediately. Musty smells indicate moisture or mold. Pet odors and heavy air freshener can mask problems. Your nose is a diagnostic tool.
-
Check walls and ceilings in every room. Look for water stains, bubbling paint, or discoloration near windows and in corners. These are signs of roof leaks or plumbing issues above.
-
Test every window and door. Open and close them. Sticking doors and windows often signal foundation settling or moisture swelling. Check seals for drafts by holding your hand near the frame.
-
Run faucets and flush toilets. Low water pressure, slow drains, and running toilets are all negotiating points. Test every faucet you can access.
-
Inspect the garage and basement. These areas reveal the most about a home’s true condition. Look for oil stains, rust, efflorescence (white mineral deposits on concrete), and any signs of standing water.
-
Locate the electrical panel and water heater. You are not opening anything. Just note their age, brand, and condition. A water heater older than 12 years is likely near replacement.
Pro Tip: Ask the listing agent directly: “How old is the roof, HVAC, and water heater?” These questions help you anticipate near-term repair costs before you make an offer.
Document everything with photos and short video clips. Take photos and videos with permission during the showing to back up your notes. Memory is unreliable when you are comparing three homes in one afternoon.
What non-physical factors and neighborhood details should you assess?
Open houses are not only for evaluating the structure. They are also for learning affordability details that directly affect your monthly payment and long-term costs. A house that looks affordable on the listing price can become unaffordable once you add HOA fees, property taxes, and deferred maintenance.
Assess these factors during and after the showing:
- Parking. Is there a garage, driveway, or only street parking? In California cities, street parking can be a daily frustration that the listing photos never show.
- Yard grading and drainage. Flat or inward-sloping yards collect water. This leads to foundation problems and flooding. Walk the perimeter and look for soggy patches.
- Noise. Stand outside for two minutes. Listen for freeway noise, flight paths, train lines, or commercial activity nearby. Noise is one of the top reasons buyers regret purchases within the first year.
- HOA fees and restrictions. Ask the agent for the current monthly HOA fee, any pending special assessments, and key restrictions. Verify these figures through official disclosures and your own calculations before making an offer.
- Property tax rate. California and Texas have very different property tax structures. In Texas, effective rates often run above 2%, which adds thousands to your annual cost. Ask the agent for the current assessed value and tax bill.
- Seller timeline. Ask how quickly the seller needs to close. A motivated seller with a tight timeline may accept a lower price or fewer contingencies.
- Utility costs. Request average monthly utility bills. Older homes with poor insulation can carry heating and cooling costs that surprise first-time buyers.
Use the agent’s answers as starting points, not final answers. Every number they give you needs verification through disclosures and your own home affordability calculations.
What questions should first-time homebuyers prepare to ask?
The listing agent represents the seller. Their job is to present the home favorably. Your job is to ask specific questions that reveal facts the listing photos do not show. Polite, organized buyers get better answers. Making a good impression on the seller’s agent can work in your favor, as long as you keep your price intentions private.
Prepare these questions before every showing:
- How old are the roof, HVAC system, and water heater?
- Have there been any recent repairs or upgrades? Were permits pulled?
- Is there any unpermitted work on the property?
- How long has the home been on the market, and has the price been reduced?
- Why is the seller moving?
- Are there any known issues the seller is required to disclose?
- What are the HOA fees, and are there any pending special assessments?
- What are the average monthly utility costs?
- What is the seller’s preferred closing timeline?
- Have there been any offers, and if so, why did they fall through?
Question 10 is the one most first-time buyers skip. A deal that fell apart once often signals a problem: a failed inspection, a title issue, or an appraisal gap. The agent may not answer directly, but their response tells you something either way. For a deeper look at what agents are required to disclose in California, the California buyer disclosures guide explains exactly what to expect.
How to organize your open house notes for better decisions?
Use a standardized rating system to compare properties objectively after each visit. Rate each home on layout, condition, location, light, noise, and estimated near-term repair costs. A simple 1–5 scale for each category gives you a score you can compare across multiple homes without relying on memory or emotion.
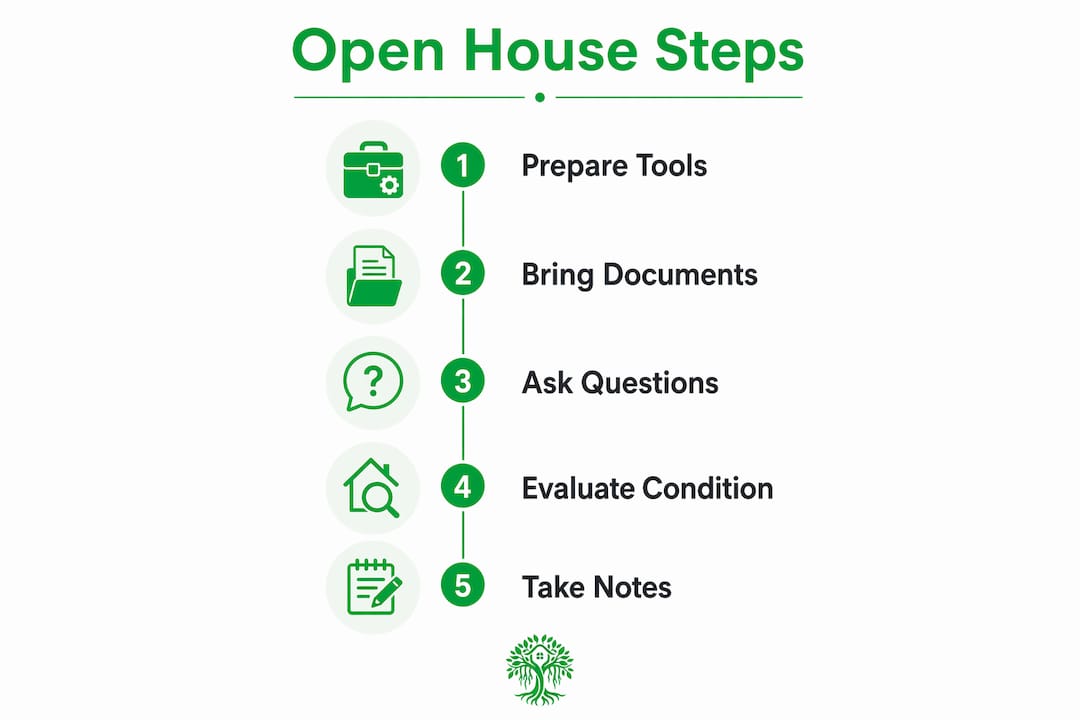
Write your notes immediately after leaving the property, not that evening. Impressions fade fast, especially when you are touring two or three homes in a day. Voice memos recorded in the car right after the showing are one of the most underused tools in a buyer’s kit. They capture tone and detail that typed notes miss.
Organize your findings against your must-have and deal-breaker lists. A home that scores high on condition but fails on location is not a compromise worth making if commute time was a non-negotiable. Share your notes with your buyer’s agent promptly. A good agent uses your observations to guide the next steps: requesting disclosures, ordering a pre-inspection, or advising on offer strategy. If you want to understand how emotional bias affects buyer decisions, that is worth reading before your first showing.
Pro Tip: Create a simple spreadsheet with one row per home and columns for each rating category. After three or four showings, patterns become obvious and the right choice gets much clearer.
Key Takeaways
Thorough open house checklist preparation requires physical tools, targeted questions, and a standardized rating system used consistently across every home you visit.
| Point | Details |
|---|---|
| Bring the right tools | Pack a tape measure, flashlight, notepad, and fully charged phone before every showing. |
| Inspect visible clues only | Observe accessible areas and ask questions. Never remove panels or perform invasive checks. |
| Ask about systems and costs | Request ages of roof, HVAC, and water heater to estimate near-term repair expenses. |
| Verify financial details | Treat HOA fees and utility costs from agents as leads, then confirm through official disclosures. |
| Rate and compare immediately | Score each home on layout, condition, and location right after the visit, not from memory later. |
What I’ve learned from watching buyers skip the checklist
First-time buyers almost always underestimate how fast homes blur together. After three showings in one afternoon, the details from the first house are gone. Buyers who rely on memory end up making decisions based on whichever home felt best in the moment, which is usually the one with the nicest staging, not the soundest structure.
The checklist is not bureaucratic busywork. It is the only thing standing between you and a $15,000 surprise after closing. I have seen buyers fall in love with a kitchen renovation and completely miss a 20-year-old roof or a water heater that was clearly past its service life. Those are not small oversights. They are the kind of costs that strain a budget in the first year of ownership.
The questions matter just as much as the physical tools. Buyers who ask about unpermitted work, price history, and failed offers consistently negotiate better outcomes. They walk in looking like serious buyers and walk out with information that shapes their offer strategy. That combination is hard to beat. For a broader view of the full homebuying process, understanding where open houses fit in the timeline helps you stay focused at each stage.
— Anand
How Ficustree helps you prepare smarter for every showing
Ficustree is an AI-powered home buying platform built specifically for first-time buyers in California and Texas. The platform gives you the tools to evaluate homes the way a seasoned buyer would, without the six months of trial and error.

Ficustree’s buyer platform includes affordability tools that calculate your true monthly cost, including PITI, HOA, and maintenance, so you know your real number before you fall for a listing. Buyers pay $1,000 at closing plus 1% commission and keep a rebate of roughly 2% where legally permitted. You get hourly showing agents on demand and the full platform free. Start your search at ficustree.ai/buyer and walk into your next open house with a clear plan.
FAQ
What should I bring to an open house?
Bring a tape measure, flashlight, notepad, fully charged phone, and a printed checklist. Also carry your lender pre-approval letter and a written list of questions prepared in advance.
What questions should I ask at an open house?
Ask about the age of the roof, HVAC, and water heater, any unpermitted work, how long the home has been on the market, and why the seller is moving. These questions reveal costs and motivations that listing photos do not.
Can I inspect the electrical panel during an open house?
No. Home inspectors only assess accessible components and do not remove electrical panel covers for safety and legal reasons. Observe the panel’s age and condition from the outside, then hire a licensed inspector after going under contract.
How do I compare multiple homes after open house visits?
Rate each home on layout, condition, location, light, noise, and estimated repair costs using a consistent 1–5 scale immediately after each visit. A simple spreadsheet makes patterns clear across three or more properties.
Are HOA fees and utility costs accurate when the agent tells me?
Treat those figures as starting points only. Verify HOA fees and utility costs through official seller disclosures and your own calculations before making any offer.